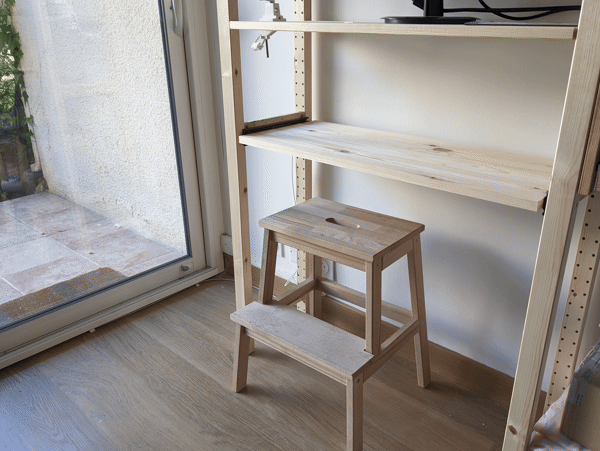
I love the Ikea IVAR shelves. I have a large one at home. To make better use of my space, I wanted to integrate a desktop computer setup in it. For it to be comfy, I needed some kind of keyboard tray.
Ikea doesn't really sell an "IVAR keyboard tray", or rather, they no longer do. They did up until 2001, as can be seen on these little cutouts from their 1997 catalogue :
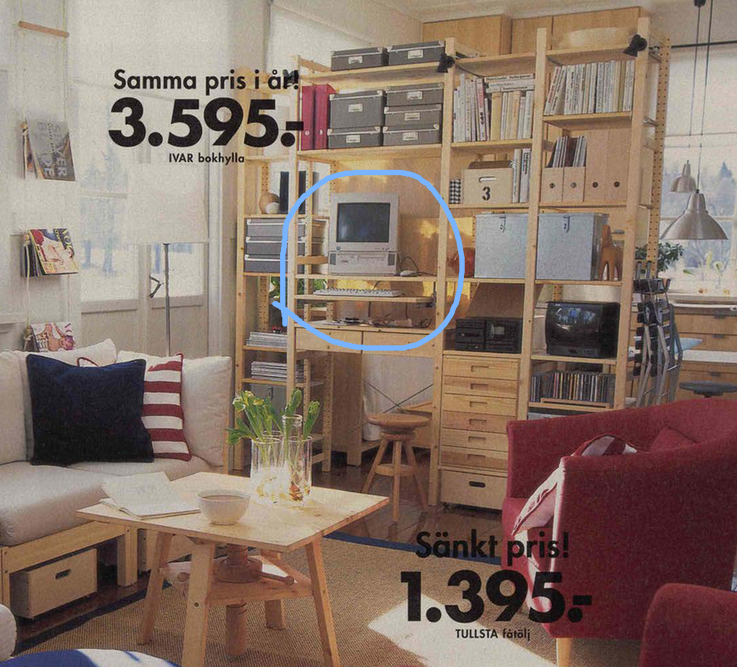
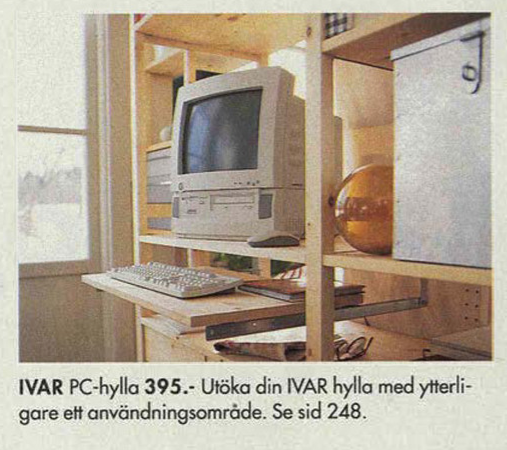
But hey, even if I stumble upon one on Craigslist, this item is made for the "big" IVAR side unit, with 50 cm depth, and I have the 30 cm deep ones, so ... am sad.
All of this to say I decided to go DIY, here's what I've done :
0 : Prerequisites
I wanted it to :
- Make good use of the removable metal rods system
- Not be too ugglo
- Be reasonably clean
I did NOT want it to :
- Require drilling or cutting the side units
1 : Side panels
My idea was to adapt the shape of the side panels used for IVAR drawers :
I came up with the following technical drawing :

(all the measurements here are millimeters)
You need two of these, made out of wood.
WARNING this is the hardest part of the project by far. You need a lot of equipment, and you gotta be accurate.
The 16 mm thickness is important to make sure the side panels don't touch the bars of the side units

The 235 mm length is important to make sure there is a good fit between the part and the side unit

Making the groove is quite hard, also you have to position the drill holes correctly, etc ...
However you don't need to be spot on for the height, better too much than too little tho to make sure you'll be able to screw in the drawer slides properly.
I am no woodworker, so I'm no authority on the "right" way to make this part ... I ended up doing it in this order with what I had on hand :
- Cut to the right length and width with a circular saw
- Get down to the right thickness with an electric planer
- Drill the holes
- Make the groves by making two cuts with a Japanese saw, then hollow out with chisels
The whole thing was really frustrating because I've been watching a whole lot of woodworking vids on TikTok and they always make it seem sooo simple with all their heavy equipment ...
Boy ... If only I had a
- Sliding Table Saw (1500 €)
- Jointer (200 €)
- Drill Press (100 €)
- Router with the right bit (100 €)
That would have made things easier, but I decided to make do with what my dad has in his shop, patience, and 0€.
Also, this better contextualizes the 100€ quote I got from a pro for 2 pieces. At first I thought that was a lot, but after giving it a try myself and absolutely f*cking struggling I think that price was OK.
2 : Hardware
I used these bits :

× 8 (101324)

× 4 (101348)

× 4 (100347)
I was pleasantly surprised to learn that Ikea stores stock some hardware and that customer service staff can pick some for you, free of charge, no questions asked. So you know exactly what I did.
3 : Drawer Slides
I took a chance with the first thing that came up on amazon, which were these slides :

Did not disappoint, seems to be a fair product. Cheap, does the job.
I bought the 250mm ones in black.
4 : Board
I took a trip to the local hardware store ... twice ... my measurements were wrong. You know what they say : Measure twice, cut once.
What worked for me in the end was a 78.5 cm × 30 cm board. I had it cut out of 1.8 cm thick pine wood, which matches the "real" IVAR shelves.
Let me say that again, you have the opportunity to learn from my own mistakes : ask for a bit more that 78.5 cm, just in case !
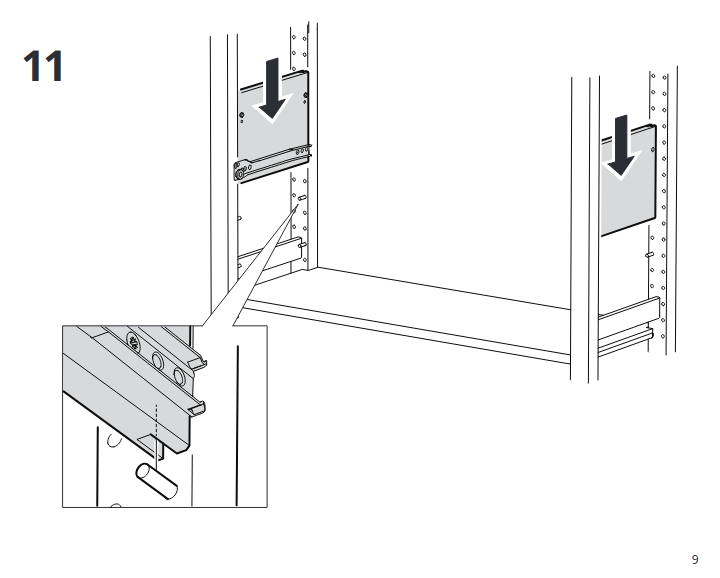
5 : Assembly
Mark the screw placement for the slides on the side panels. No need to be extremely precise here, the panels will have some give once in position, but not a whole lot either.
Insert the  s in the larger holes on the side panels.

(do not screw in the slides for now)
Insert the  s in the side units
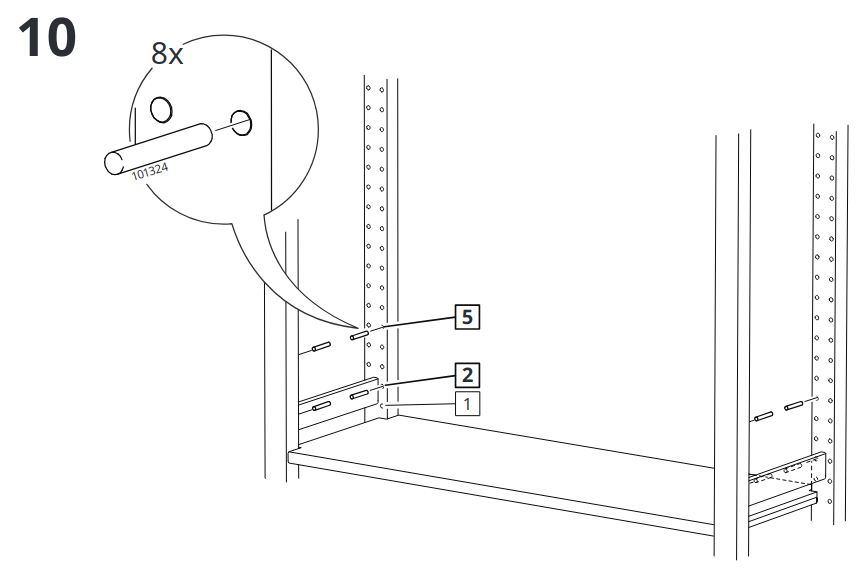
(do not look at the hole numbering, just do what makes sense for your panel height)
Slide the panels vertically in the side units until the s rest on the s
Screw the  s in the smaller holes on the side panels.

Screw the larger part of the drawer slides to the side panels
Screw the removable part of the drawer slides to the board
Slide the board in, it should "click" in.
6 : Finishing touches
Optional :
- Sand the edges, or better yet : chamfer then sand, so it looks the exact effing same as a regular IVAR shelf
- Tweak the slides' position so the board is flush with the side unit when closed